3D printing generally produces quite stable plastic and metal parts. However, there are applications for which particularly high strength is required. This property is primarily influenced by the design and choice of material. Xometry Europe handles countless production orders in additive technologies every day. From this wealth of experience, we have compiled a list of tricks and tips that can be used to reinforce printed parts. To do this, we turn three adjusting screws: component geometry, printer settings and post-processing.
Geometry of the component
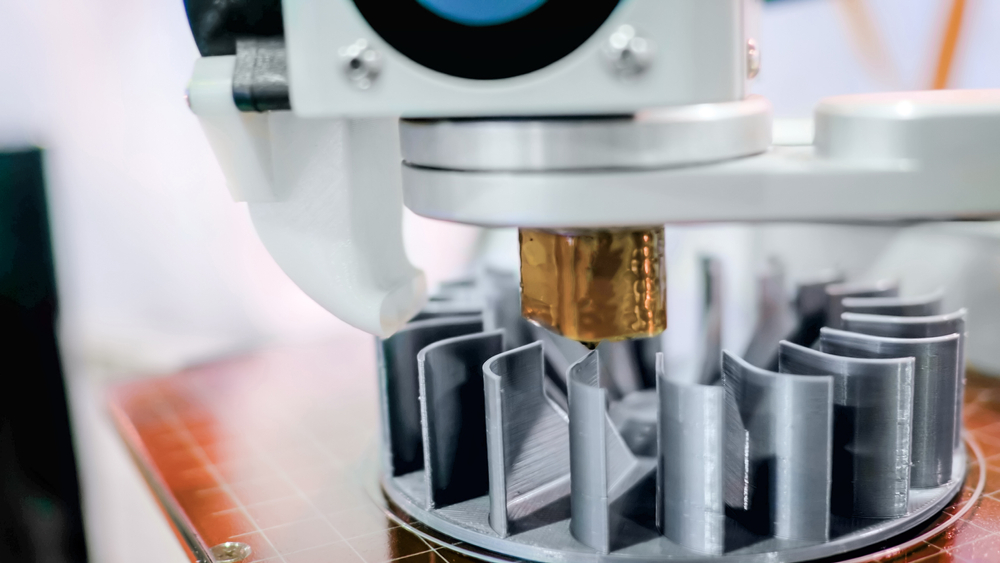
It plays a decisive role in determining the strength of a 3D print. The use of fillets and chamfers increases the mechanical strength of edges, while gussets and ribs provide structural support.
Fillets or chamfers are a stable base for thinner areas in the 3D part. They prevent the nozzles from knocking sensitive sections out of the print.
Ribs and gussets protrude vertically from a wall or plane as thin extrusions. They serve as support and increase the strength of the part. The thickness of the ribs should be half the wall thickness and arranged at a minimum distance of twice the wall thickness. Large and high ribs should be avoided; use several small ribs instead.
Printer settings
The 3D printing process must be optimally adjusted to produce stable parts. This applies in particular to the following parameters:
Infill in 3D printing
Infill is the amount of material inside the outer walls of the 3D part. This technique is often used in the FDM process to increase strength. There are two ways to set the infill: in the infill pattern and in the infill density.
- Infill pattern
This is a repeating structure that fills the space inside a 3D printed part. It is usually not visible from the outside. The many types of infill patterns include: Triangular patterns, rectangular patterns, honeycomb patterns, hexagonal and concentric patterns. The rectangular infill pattern, for example, can result in a 100 percent dense infill. A hexagonal infill pattern, on the other hand, offers the best strength-to-weight ratio, but requires the longest printing time. The tri-hexagonal infill pattern is the strongest infill pattern.
- Density of the infill
It is true that an infill of 100 percent results in a solid and therefore the strongest part. In many cases, however, this is an unnecessary use of material that increases weight and cost. A honeycomb pattern is best for infill levels below 50 percent, while linear patterns are best for infill levels above 50 percent. Typical fill densities are between 20 and 25 percent.
Alignment of the parts
3D-printed parts are strongest in the layers that run parallel to the housing. The molecular bond within a layer is stronger than the bond between the layers. These are the X and Y planes. Although this technique is common in FDM printing, it can also be used in other processes such as SLA and SLS to improve strength. The orientation of the part depends on where stress and pressure will be applied to the part.
Thickness of the shell
It plays an important role in the reinforcement of 3D parts, as a thicker shell makes a part stronger. In FDM, a shell thickness of three to four times the nozzle diameter is best for parts that will be subjected to heavy and sustained loading. Most 3D printing processes use a minimum thickness of only about one millimeter as standard. However, a higher thickness improves tensile and impact strength.
Post-processing of the production parts
To further increase the strength of the printed parts, you can consider post-processing. The following post-processing steps significantly increase the strength of 3D printed parts:
Annealing
Here, a printed part is heated and gradually cooled to relieve internal stresses and achieve greater strength. Metals and glass can be annealed, but not all polymers. PLA, PET and PA 12, for example, are suitable.
Galvanic coating
In this process, the printed part is immersed in a solution of water and metal salts. When current flows through the solution, the metal cations form a thin layer around the part. This technique can be used for 3D parts from FDM, SLS, SLA or SCM printers. It gives the part almost identical mechanical properties to metal and is a cost-effective alternative to metal 3D printing.
Resin coating
Epoxy resins or polyester resins are used to coat printed parts. Epoxy resin coating is an insoluble surface coating that is applied with epoxy resin paint. This paint contains an epoxy resin and a hardener. The resulting coating is generally more durable and resistant than uncoated parts. However, epoxy coating is unfavorable when extreme geometric accuracy and sharp edges are required for the part. Polyester resins, on the other hand, are thin and can be applied to intricate parts. The resin begins to cure just five minutes after application and usually takes 24 hours to dry completely. A resin coating can be applied to any part from any printer.
Carbon fiber reinforcement
Carbon or glass fibers are also suitable for reinforcement. Carbon fibers have an excellent strength-to-weight ratio and are best suited for parts that are exposed to constant stress. In contrast to carbon, however, glass fibers bend until they break. The fibers can be laminated in two ways:
- Short fiber reinforcement: in this method, the fibers are shredded and mixed with the thermoplastic to increase strength and stiffness.
- Continuous fiber reinforcement: Here, the fibers must be continuously integrated into the thermoplastic during extrusion and lay-up. This requires two nozzles that print simultaneously.
Subscribe to our Newsletter
3DPresso is a weekly newsletter that links to the most exciting global stories from the 3D printing and additive manufacturing industry.


