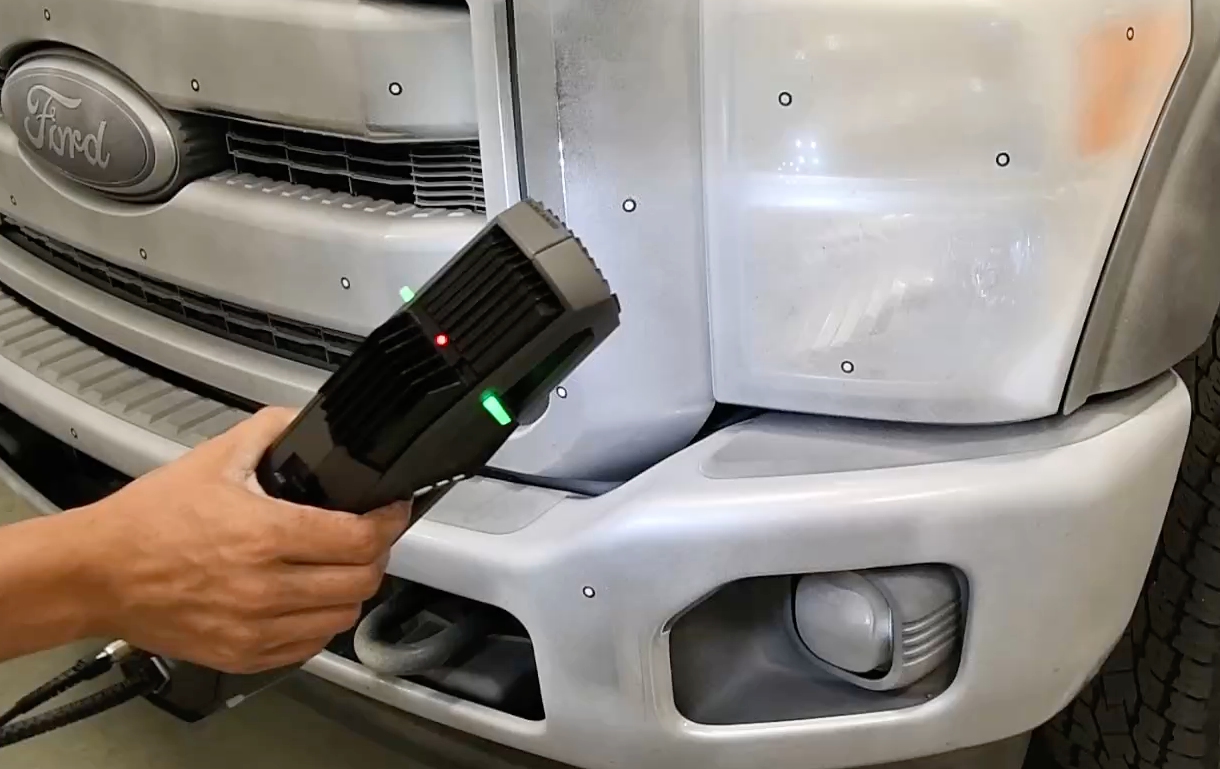
When scanning components, reference points play a central role in achieving precise and reliable measurement results. These points are used in optical measurement processes to precisely reference three-dimensional objects during digitization. They enable precise, reproducible and comparable recording of component data. Reference points are available in different variants, including self-adhesive points, endless points from the roll and mesh structures. The choice of the appropriate variant depends on the requirements of the respective scanning system as well as the type and size of the component to be measured.
Self-adhesive reference points are widely used as they can be easily and quickly attached to the surfaces to be measured. These dots come in different shapes, sizes and materials, allowing for precise positioning and therefore accurate alignment and measurement. A supplier such as AESUB offers self-adhesive dots that also adhere securely to self-volatilizing spray. These dots are available in various designs, including black and white and retro-reflective. The latter offer high visibility even in difficult lighting conditions and long distances between the component and the measuring device, which improves the efficiency and reproducibility of measurements.
Another quick and efficient method for attaching measuring points are endless dots from the roll. A transparent adhesive strip with retro-reflective reference points throughout is particularly suitable for large-format components such as cars or large machine parts. These dots can be applied and removed in a matter of seconds, which significantly reduces working time and makes handling more ergonomic.
The use of nets with reference points is ideal for the comprehensive preparation of larger components. These nets, which are equipped with magnetic or suction-cup mounted points, enable fast and efficient scans from different perspectives. This is particularly advantageous for metallic and non-metallic parts. The reference points “float” above the surface, allowing the nets to be used multiple times, saving time and money.
There are also measuring point cubes, such as the dodecahedrons from AESUB, which are equipped with eleven measuring marks and are particularly suitable for measurements on metallic components. These cubes enable reliable measurement of component dimensions from different perspectives and therefore offer a high degree of precision during measurement. Modular reference frames, on which measuring points are permanently positioned, also represent a flexible and reusable solution. These frames can be modified and adapted to different component geometries, making them ideal for pre-series, small series and prototypes.
The targeted use of reference points can significantly improve the accuracy and repeatability of scans. The choice of suitable reference points depends on the specific requirements of the measurement process and helps to achieve reliable and precise measurement results.
Subscribe to our Newsletter
3DPresso is a weekly newsletter that links to the most exciting global stories from the 3D printing and additive manufacturing industry.


